
Table of Contents Show
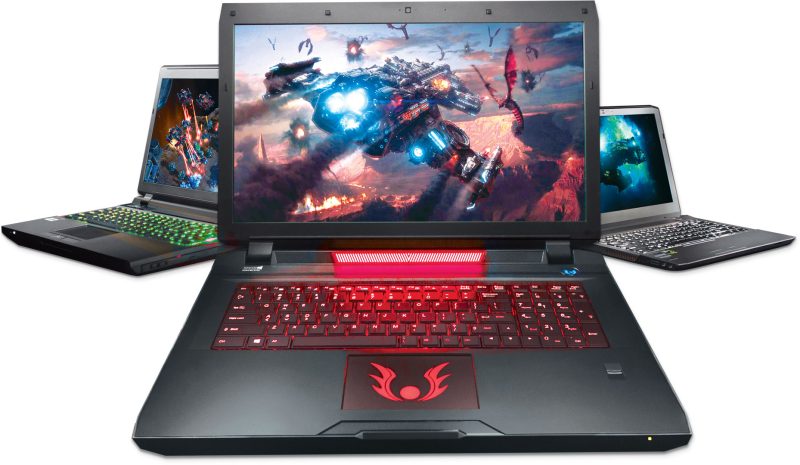
Is your current laptop acting a bit sluggish? You may not think there is much you can do about it, short of buying a brand-new laptop. After all, upgrading the basic hardware in a laptop is usually more difficult than upgrading desktop hardware. However, there are some simple upgrades that you can do yourself; and they often improve your machine’s performance while costing you comparatively little. Here are some tips for upgrading your old laptop and making it feel like a newer one.
Approach with Caution
Keep in mind that some upgrades will void the laptop’s warranty, so only perform them if the warranty has already lapsed. Also, realize that your laptop is a delicate device, and handling it carelessly can and will damage it. If it’s your first time opening up a laptop and performing an upgrade, consider enlisting a tech-savvy friend to guide you through the process.
Gather Your Tools
The screws and other hardware that fastens your laptop together is fairly tiny. You’ll need sets of small Phillips, flathead, and Torx screwdrivers handy. If you don’t own these yourself, borrow them from a friend.
Keep It Straight
Snap photos with your smartphone during each stage of the process. These images will help you remember how to put everything back together. Store loose screws in separate paper cups and label each cup with the part to which the screws belong.
Watch the Wires
As you’re working on the laptop, keep an eye on the slender wires running throughout the machine. You don’t want any of these getting pinched or snipped.
Start Simple
One of the easiest and fastest upgrades you can do for your laptop involves the RAM. Find out which kind of RAM modules are compatible with your laptop and identify how much RAM you already have. Add a new stick of RAM along with the old one, or go for brand-new, identical matching pieces. There should be a small panel on the bottom of your laptop that exposes the memory slots and allows you to do a quick RAM upgrade.
Add Space
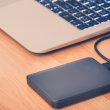
Swapping out the hard drive in your laptop is a fairly simple process, too. In many laptops, you gain access to the hard drive via a side panel. Find a compatible hard drive with more space and better specs than your current one. Back up all your data to an external drive via USB connection. Next, take out the screws holding the hard drive tray in place and slide the whole thing out. After removing the old drive and its screws, place the new one in the sled or tray. Secure it with the screws and slide it back into its bay. Once you add the last screws to hold it in place, you’ll need to reinstall your operating system and put your files back on the machine.
Put in an Optical Drive
If your laptop has a modular optical drive bay, you may be able to switch out an older CD drive to something newer and better. Purchase a new drive that includes better specifications but still fits in the allotted space within your laptop. Remove the locking screw that keeps the optical drive in place. Pull out the old CD drive, slip the new one in, and replace the screw. Then install the drivers that go along with your new piece of hardware.
Once you get started with these upgrades, you’ll find yourself wishing for more ways to improve the machine. Try installing a wireless card or an upgraded Bluetooth module once you get comfortable working with the laptop. To keep costs down for any of these hardware components, salvage them from other unused laptops or from stores that offer discounted, pre-owned hardware components. With skill and perseverance, you can enjoy a faster, better laptop for less.